

Before
The skin should be free of any products so that it is best prepared for the application of make-up.
The skin should be free of any products so that it is best prepared for the application of make-up.

Step 1
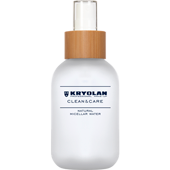
Cleanse the skin with Clean & Care Natural Micellar Water 120 ml to remove impurities and oils.
Cleanse the skin with Clean & Care Natural Micellar Water 120 ml to remove impurities and oils.
Step 2
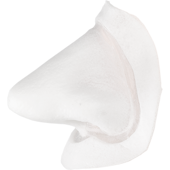
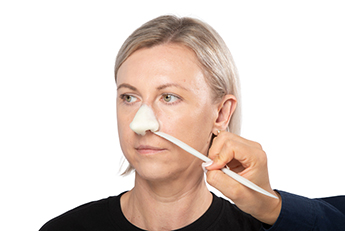
Cut the side of the PU Foam Nose Titania small to fit the contours of the face. Then attach the nose with Pros-Aide - The Original - 50 ml. Let the glue dry a bit before sticking the foam nose.
Cut the side of the PU Foam Nose Titania small to fit the contours of the face. Then attach the nose with Pros-Aide - The Original - 50 ml. Let the glue dry a bit before sticking the foam nose.
Step 3
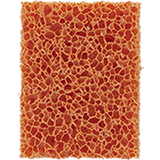
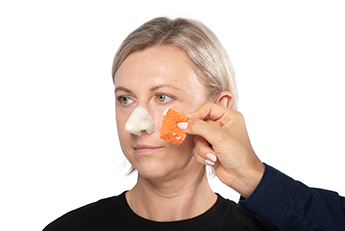
To blend the edges of the nose with the skin in the most natural way possible and to fill in gaps and edges, Pros-Aide - The Original - 50 ml and Kryosil Thickening Agent 10 g must be mixed together. Apply the paste with a Rubber Pore Sponge and let it dry. Then dust with Translucent Powder 60 g to remove any tackiness.
To blend the edges of the nose with the skin in the most natural way possible and to fill in gaps and edges, Pros-Aide - The Original - 50 ml and Kryosil Thickening Agent 10 g must be mixed together. Apply the paste with a Rubber Pore Sponge and let it dry. Then dust with Translucent Powder 60 g to remove any tackiness.

Step 4
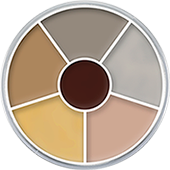
To color the skin and the foam nose, use shades Death Grey and 521 of the Cream Color Circle (Corpse 2).
To color the skin and the foam nose, use shades Death Grey and 521 of the Cream Color Circle (Corpse 2).
Step 5
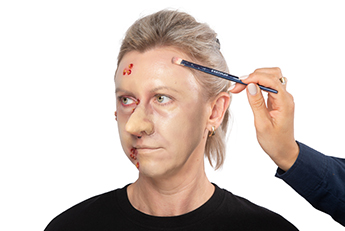
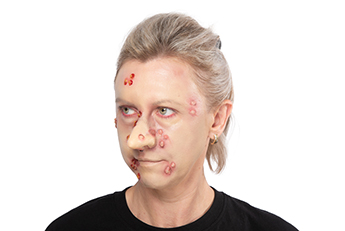
In this step, create shadows and an aging effect. Use color 046 from the same Cream Color Circle (Corpse 2) as in step 4. Also, set shadows under the eyes and natural hollows.
In this step, create shadows and an aging effect. Use color 046 from the same Cream Color Circle (Corpse 2) as in step 4. Also, set shadows under the eyes and natural hollows.
Step 6
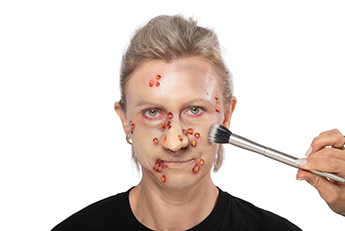
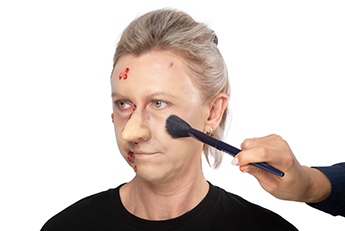
Set everything with Translucent Powder 60 g (TL 1) and a clean Premium Powder Puff Pink 10 cm. Dust off the excess with a powder brush.
Set everything with Translucent Powder 60 g (TL 1) and a clean Premium Powder Puff Pink 10 cm. Dust off the excess with a powder brush.
Step 7
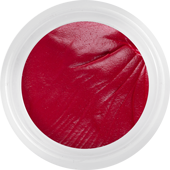
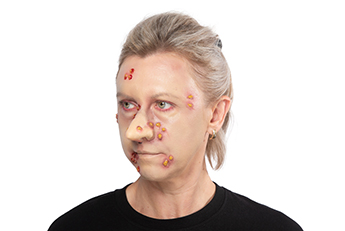
Now apply HD Cream Liner (ruby red) on the waterline and under the eyes. This will create an effect of inflamed, sore eyes.
Now apply HD Cream Liner (ruby red) on the waterline and under the eyes. This will create an effect of inflamed, sore eyes.
Step 8
Now apply Tuplast directly to the skin to create boils. The various boils can be made larger or smaller as desired. The product is self-adhesive to the skin.
Now apply Tuplast directly to the skin to create boils. The various boils can be made larger or smaller as desired. The product is self-adhesive to the skin.
Step 9
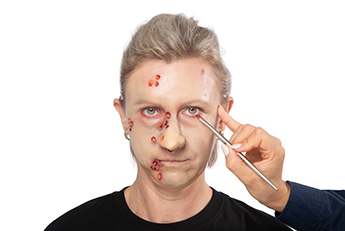
To color the boil, use HD Cream Liner (ruby red), focusing only on the edges. For depth and the effect of bruises, use 046 from the Cream Color Circle (Corpse 2) for the surrounding areas.
To color the boil, use HD Cream Liner (ruby red), focusing only on the edges. For depth and the effect of bruises, use 046 from the Cream Color Circle (Corpse 2) for the surrounding areas.
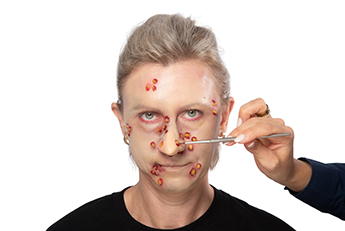
Step 11
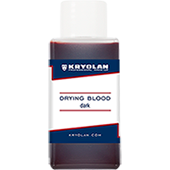
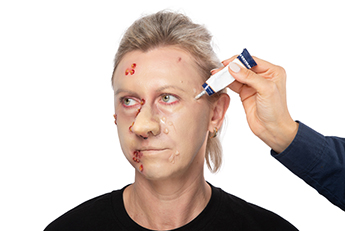
In this next step, apply Drying Blood 50 ml (dark) to the boils. Use a small liner brush to get around the details. The product remains slightly shiny, which keeps the look fresh.
In this next step, apply Drying Blood 50 ml (dark) to the boils. Use a small liner brush to get around the details. The product remains slightly shiny, which keeps the look fresh.
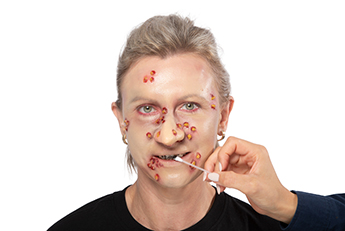
Step 12
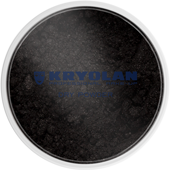
Now, it's time for the teeth. First, make sure they are dry. Then apply Tooth Enamel (black) to selected teeth to simulate the effect of rotten or missing teeth. If you want to use the Tooth Enamel on multiple people, a disposable cotton bud can be used to apply the Tooth Enamel for hygiene purposes.
Now, it's time for the teeth. First, make sure they are dry. Then apply Tooth Enamel (black) to selected teeth to simulate the effect of rotten or missing teeth. If you want to use the Tooth Enamel on multiple people, a disposable cotton bud can be used to apply the Tooth Enamel for hygiene purposes.