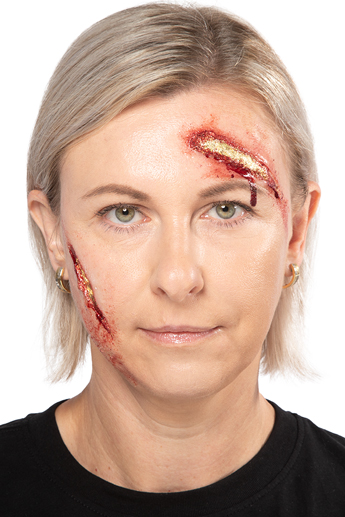

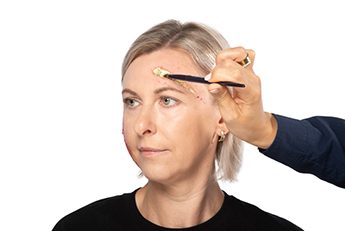
Before
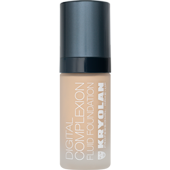
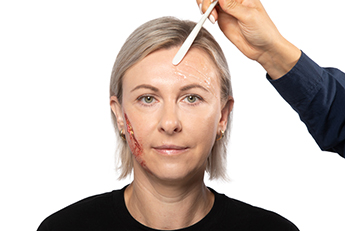
To make the skin look flawless before applying the effects make-up, apply Digital Complexion Fluid Foundation.
To make the skin look flawless before applying the effects make-up, apply Digital Complexion Fluid Foundation.
Step 1
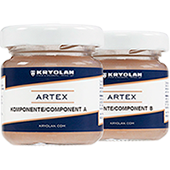
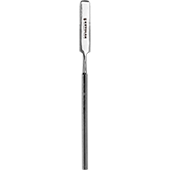
Mix the same amount of Artex of components A and B on a Make-up Blending Plate. Make sure to use different Make-up Mixing Spatula to pick up the individual components, so they do not harden in their pot. Apply the mixture to the desired area, working the edges slightly higher to create a seamless bond with the skin. While the Artex is still wet, use the Make-up Mixing Spatula to create a trough in the center of the application to add depth to the wound.
Mix the same amount of Artex of components A and B on a Make-up Blending Plate. Make sure to use different Make-up Mixing Spatula to pick up the individual components, so they do not harden in their pot. Apply the mixture to the desired area, working the edges slightly higher to create a seamless bond with the skin. While the Artex is still wet, use the Make-up Mixing Spatula to create a trough in the center of the application to add depth to the wound.
Step 2
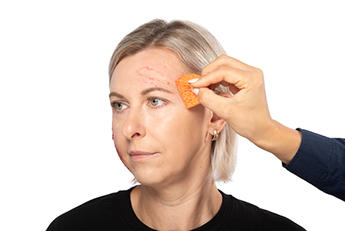
Once cured, stipple Perfect Matt over the application with a soft brush. This helps to remove any unwanted shine from the silicone.
Once cured, stipple Perfect Matt over the application with a soft brush. This helps to remove any unwanted shine from the silicone.
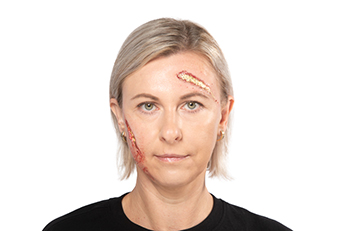
Step 3
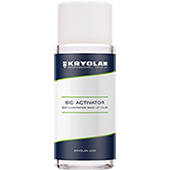
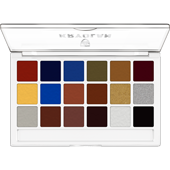
To color the wound and the surrounding area, apply shade 080 of the Body Illustration Make-up Color Set 18 Colors (FX) mixed with BIC Activator and a Rubber Pore Sponge. The mixture should be dabbed on with this. Afterward, a fine brush helps to color the inner area of the Artex wound, thus adding depth to the wound.
To color the wound and the surrounding area, apply shade 080 of the Body Illustration Make-up Color Set 18 Colors (FX) mixed with BIC Activator and a Rubber Pore Sponge. The mixture should be dabbed on with this. Afterward, a fine brush helps to color the inner area of the Artex wound, thus adding depth to the wound.

Step 4
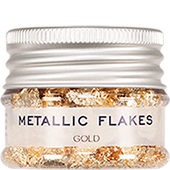
Mix Metallic Flakes (gold) with Multi Gel Primer 10 ml and apply the mixture to the wound with a brush.
Mix Metallic Flakes (gold) with Multi Gel Primer 10 ml and apply the mixture to the wound with a brush.
Step 5
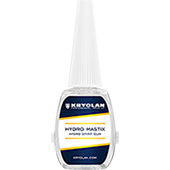
Apply True Nature Glitter (red) around the edges of the wound. Use Hydro Spirit Gum 12 ml and a small brush for this. This imitates depth and the effect of blood.
Apply True Nature Glitter (red) around the edges of the wound. Use Hydro Spirit Gum 12 ml and a small brush for this. This imitates depth and the effect of blood.
Step 6
Use a Rubber Pore Sponge to dab on Supreme Blood External 50 ml (dark) in this step. Apply the product around the wound, concentrating on the edges.
Use a Rubber Pore Sponge to dab on Supreme Blood External 50 ml (dark) in this step. Apply the product around the wound, concentrating on the edges.
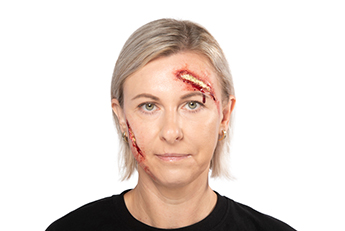
Step 7
Use a Make-up Blending Plate to apply a larger amount of Supreme Blood External in Dark to the edge of the wound and let it drop out naturally.
Use a Make-up Blending Plate to apply a larger amount of Supreme Blood External in Dark to the edge of the wound and let it drop out naturally.